Navigation
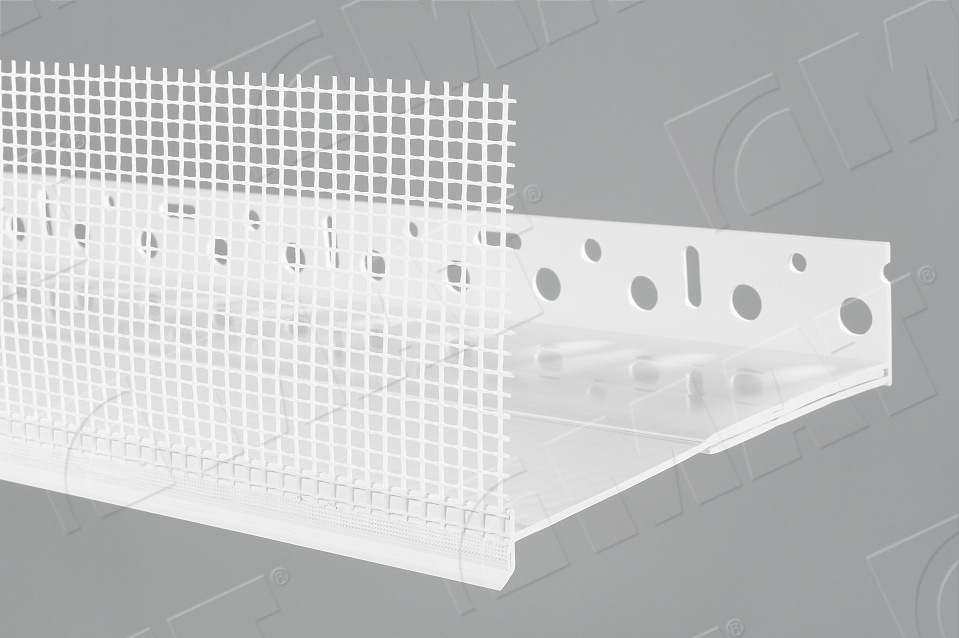
VARIO base bead set
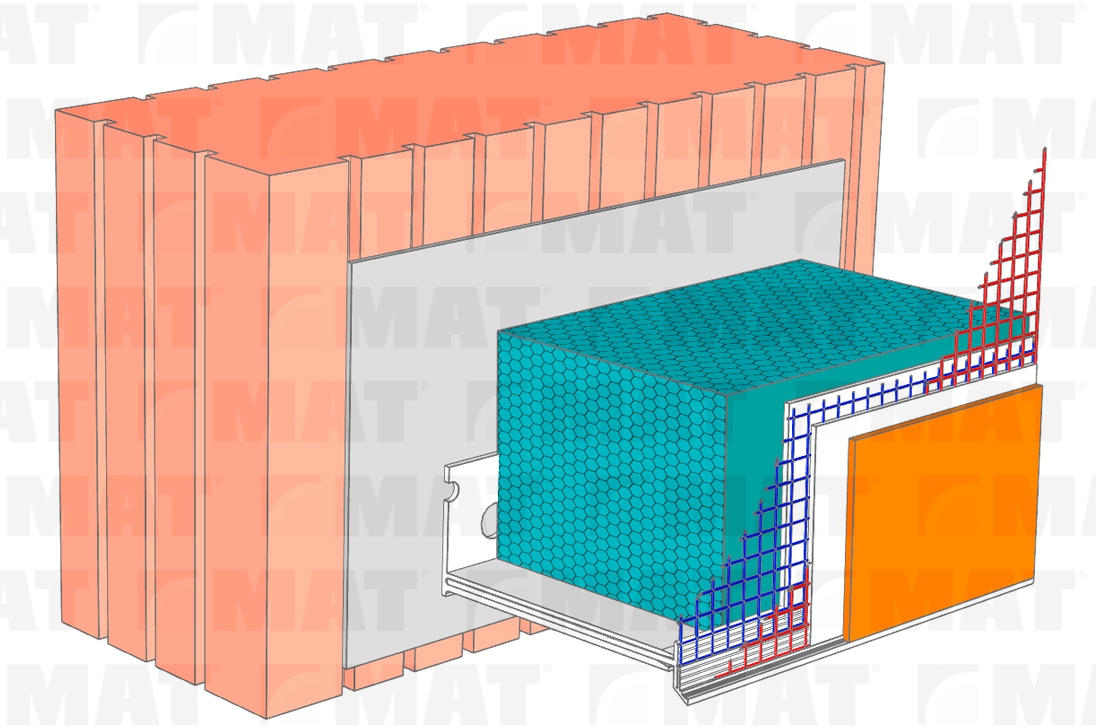
VARIO base bead set
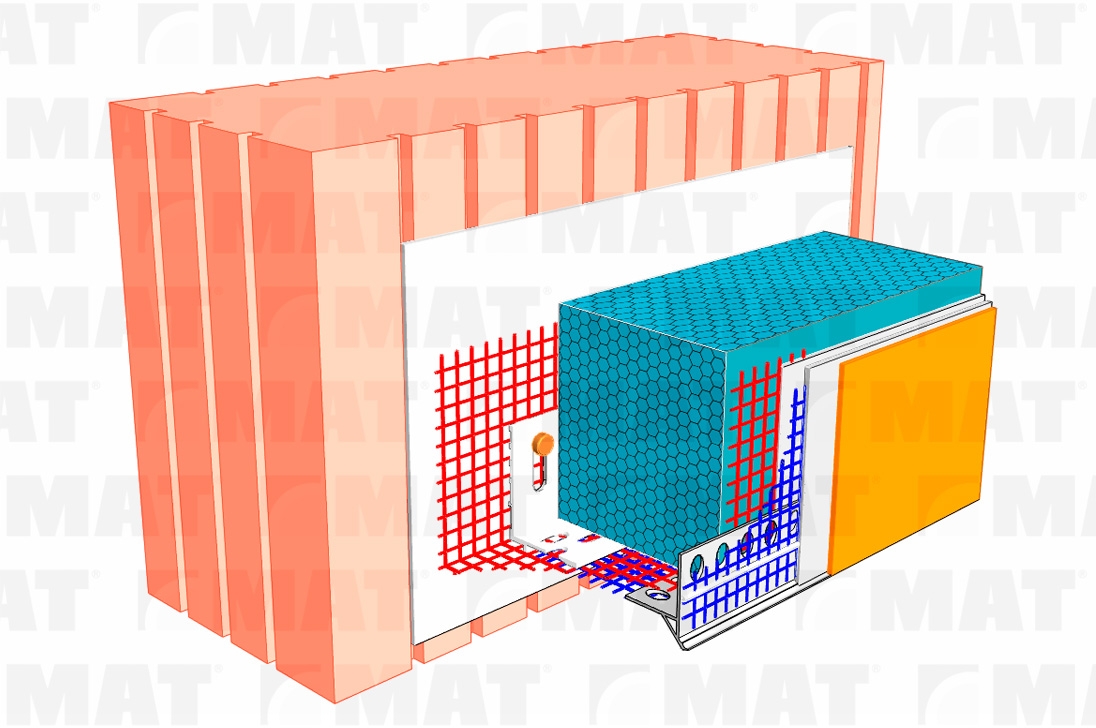
Simple level seating of thermal insulation boards.
- increased mechanical resistance during transport and handling unlike aluminium profiles
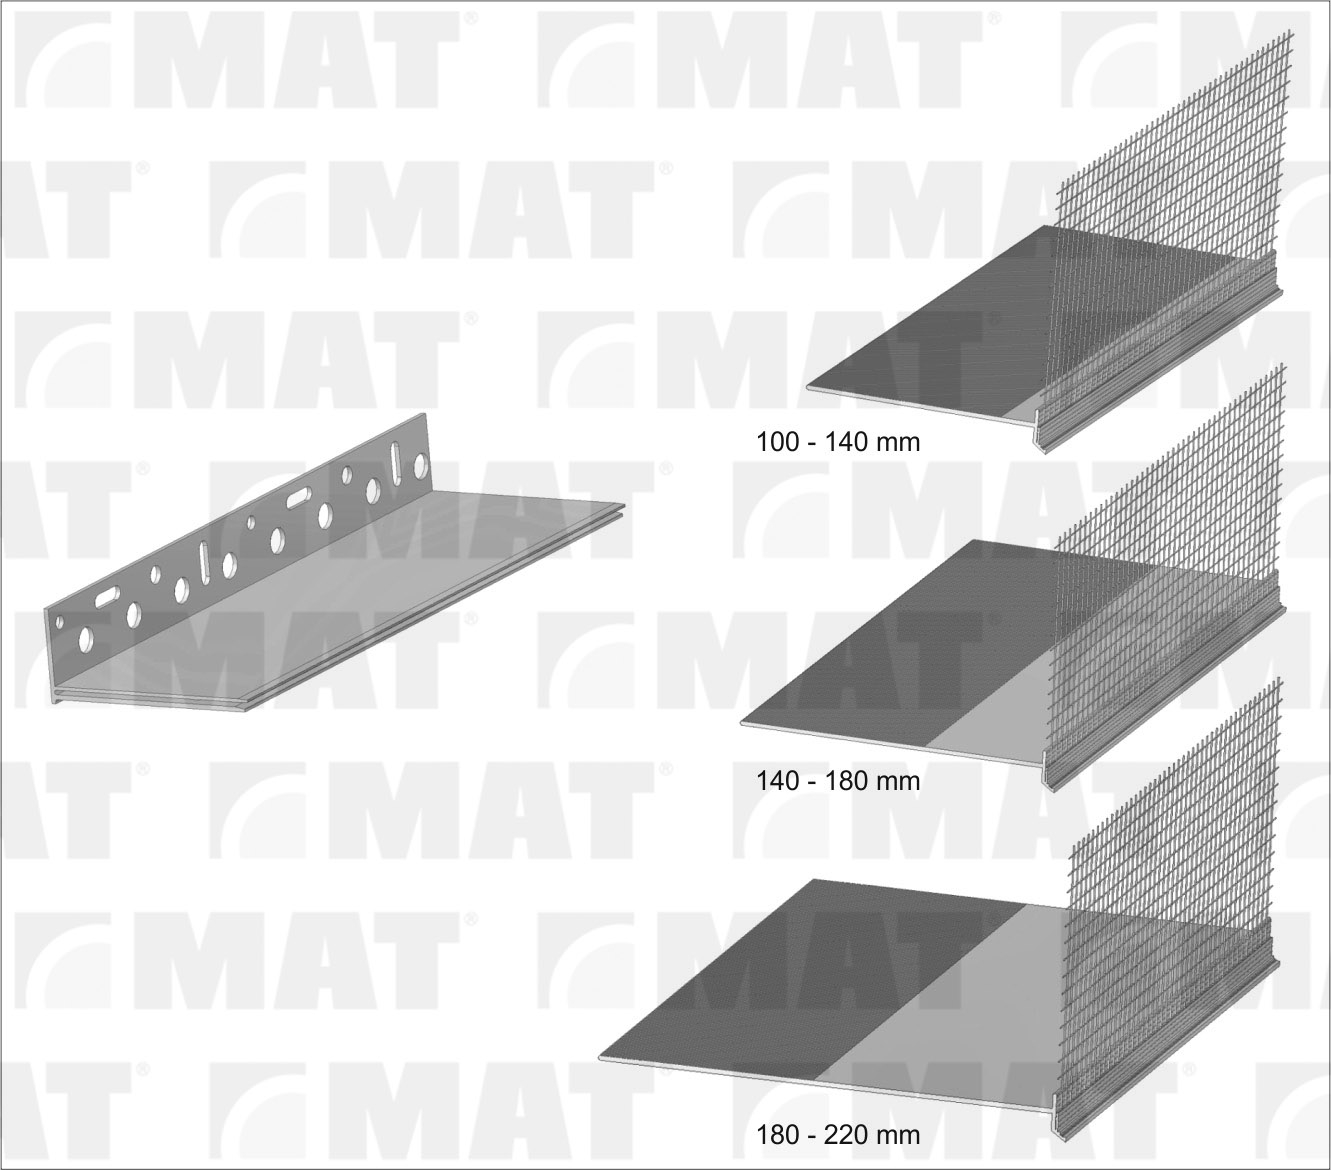
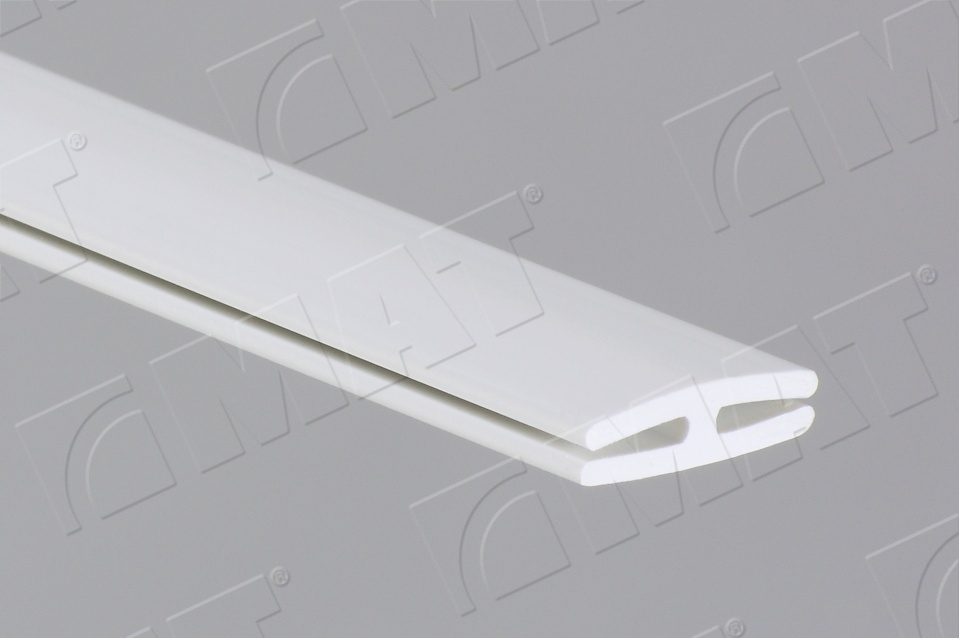
- the dimensions of the two-piece system can be adjusted to the width of the insulation board by retracting
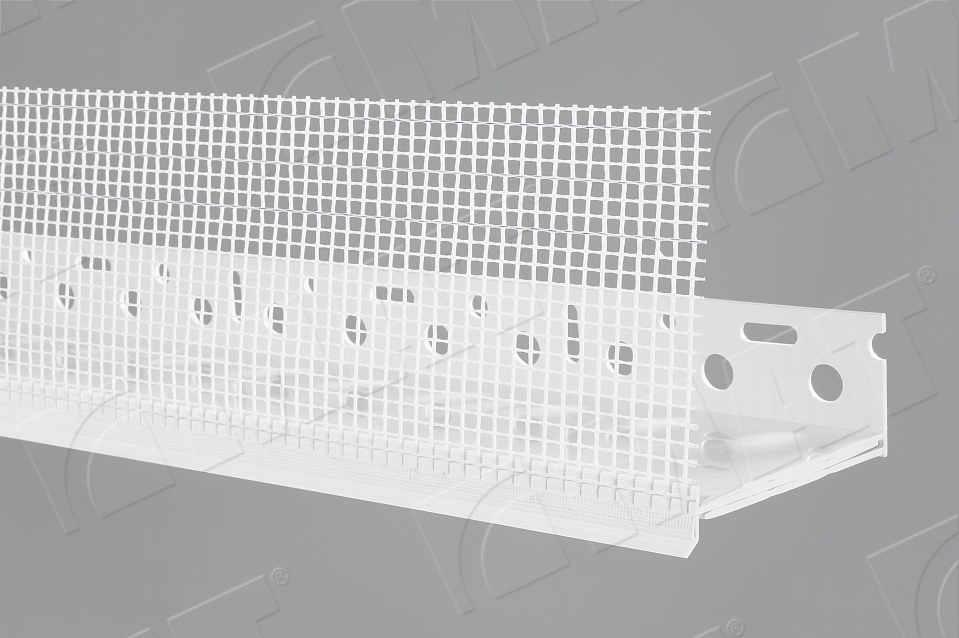
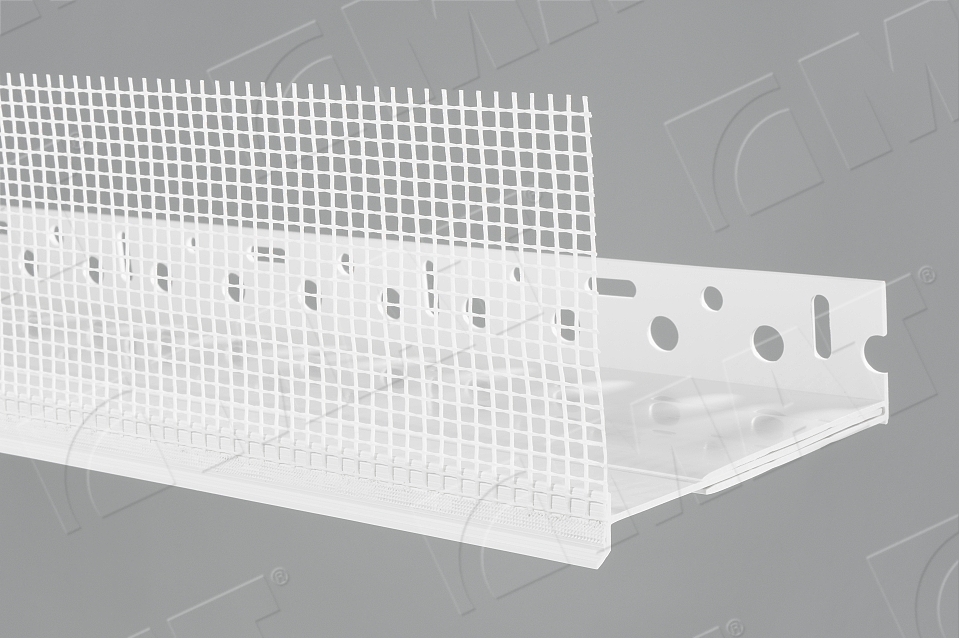
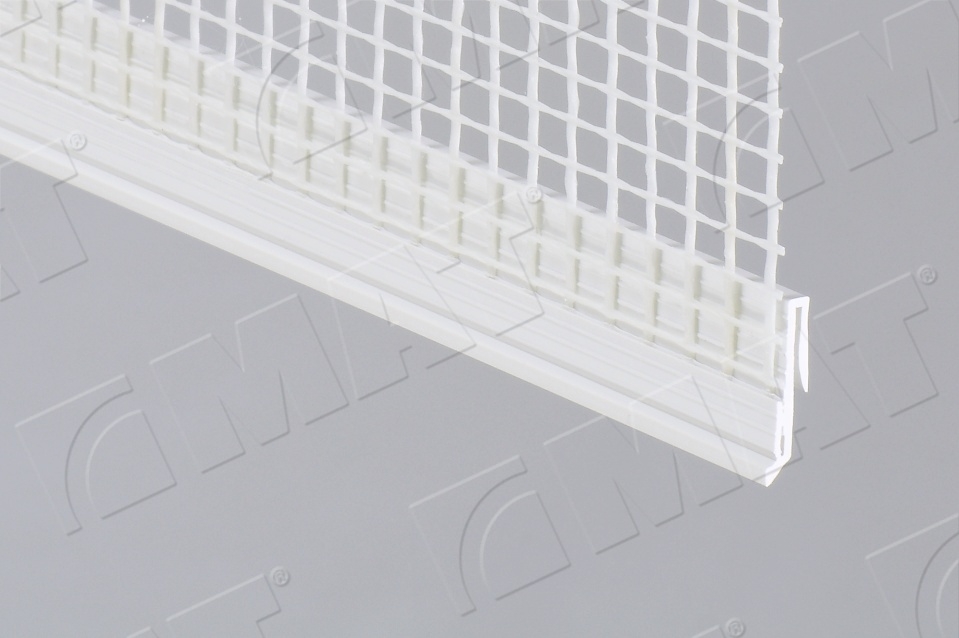
- increased strength of the connection to the rendering system using integrated fiberglass mesh, and subsequent prevention of cracks
- simple access to fixing holes and elimination of deformation of the base bead when attaching using fixings
| Ordering No. | For the width of the insulating | Length | Packing | |
| (mm) | (m) | box (m) | palette (m) | |
| D/45.2 | 100-140 | 2,0 | 20 | 400 |
| D/46.2 | 140-180 | 2,0 | 20 | 400 |
| D/47.2 | 180-220 | 2,0 | 20 | 400 |
Recommendation:
Before starting to fix the wall base bead to the wall, it is a good idea to verify that the wall is level according to the valid ČSN 732901 standard. Level any unevenness using plastic spacers for example. We recommend that the base beads are attached using fixings at intervals of 30 – 40 cm. Leave a dilation gap of approx. 1-2 mm between the individual base beads. We recommend that the beads be cut diagonally at corners.
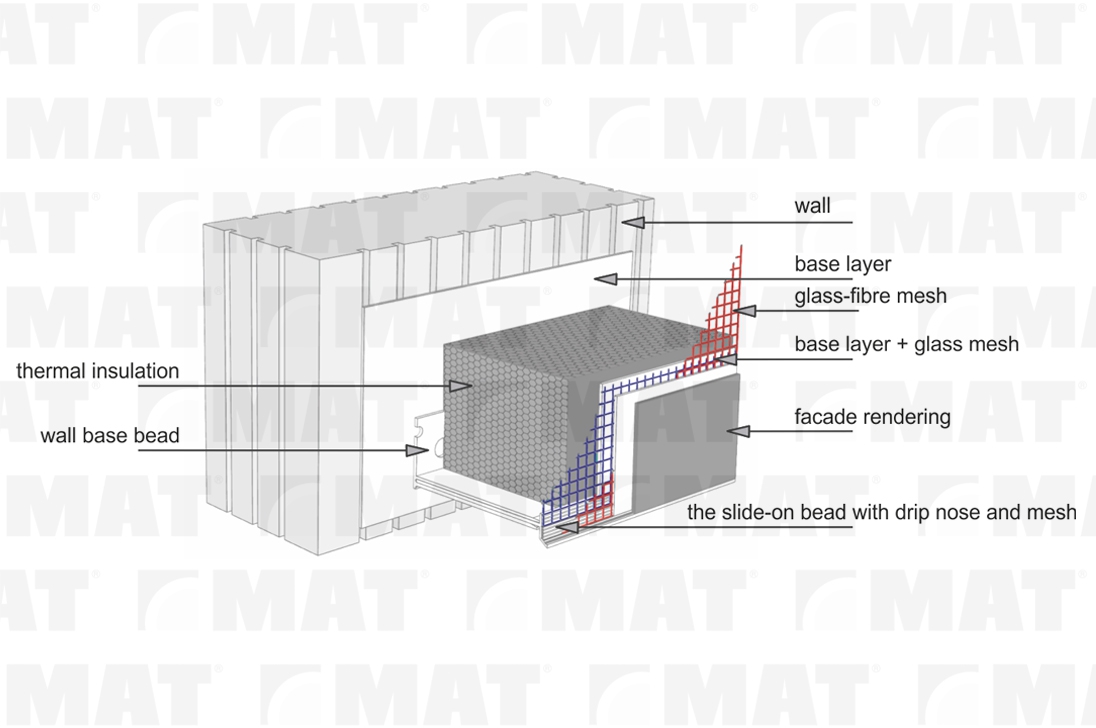
After the first row of thermal insulation board is seated, slide the wall base bead for the second part of the system into the bottom groove – the slide-on bead with drip nose - and butt it to the insulation board. Incorporate the glass-fibre mesh into applied render. When completing the base layer apply the glass-fibre mesh up to the edge of the drip nose profile of the slide-on bead. Pay attention when cutting to avoid damaging the profile or the glass-fibre mesh.
Be careful when hammering in the pins because the properties of the PVC bead material changes if temperatures are below 5°C.


